November 30, 2011

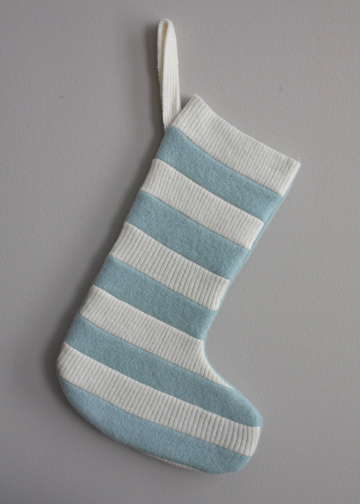
Tons Of Tutorials - Make Your Own Christmas Stockings

It's the last day of November, so Christmas crafting is either in full force or completely done for each of us and I'm sure someone out there needs to whip up a stocking or two to deck their halls with.

If, by chance, you don't have a need for some stockings then head over to Purple Panda Quilts because Lyanna (I KNOW, how amazing that she's got the same name as me!) does an annual stocking drive for foster children from October 1 to December 1. There are lots and lots of tutorials on her site as well.

Here is a compilation of TONS of different ways to create a stocking (quilting, sewing, crochet, and knit), from vintage-y to modern styles.

All but one pattern is FREE!

Each link takes you to the pattern for stocking, or if you want to be extra creative you can just use one of these as a template to create the shape you like and use whatever you have/want.

Quilted:


Scrap Stocking @ Maggie Makes

Christmas Stocking @ Stamp*Stitch*Create (bought pattern)

His and Her Scrappy Christmas Stocking @ Moda Bakeshop

Sewn:

Recycled Sweater Stocking @ The Long Thread

Rick Rack Stocking @ Martha Stewart

Jingle Bell Stockings @ Martha Stewart

Recycled Wool Stocking from Scraps @ Resweater

Knitted:

Zig Zag Stocking by Vicki Howell @ knitting.about.com

Personalized Knitted Christmas Stockings @ Canadian Living

"Basic Sock" Christmas Stocking @ Pickin' and Throwin'
Both Crochet & Knit Patterns @ Berroco.com

Crocheted: 

Waiting for Santa Stocking @ Red Heart

Holly & Berry Stockings @ Red Heart

Free Christmas Stocking Pattern By HolyJeans30

Happy Crafting!

November 28, 2011

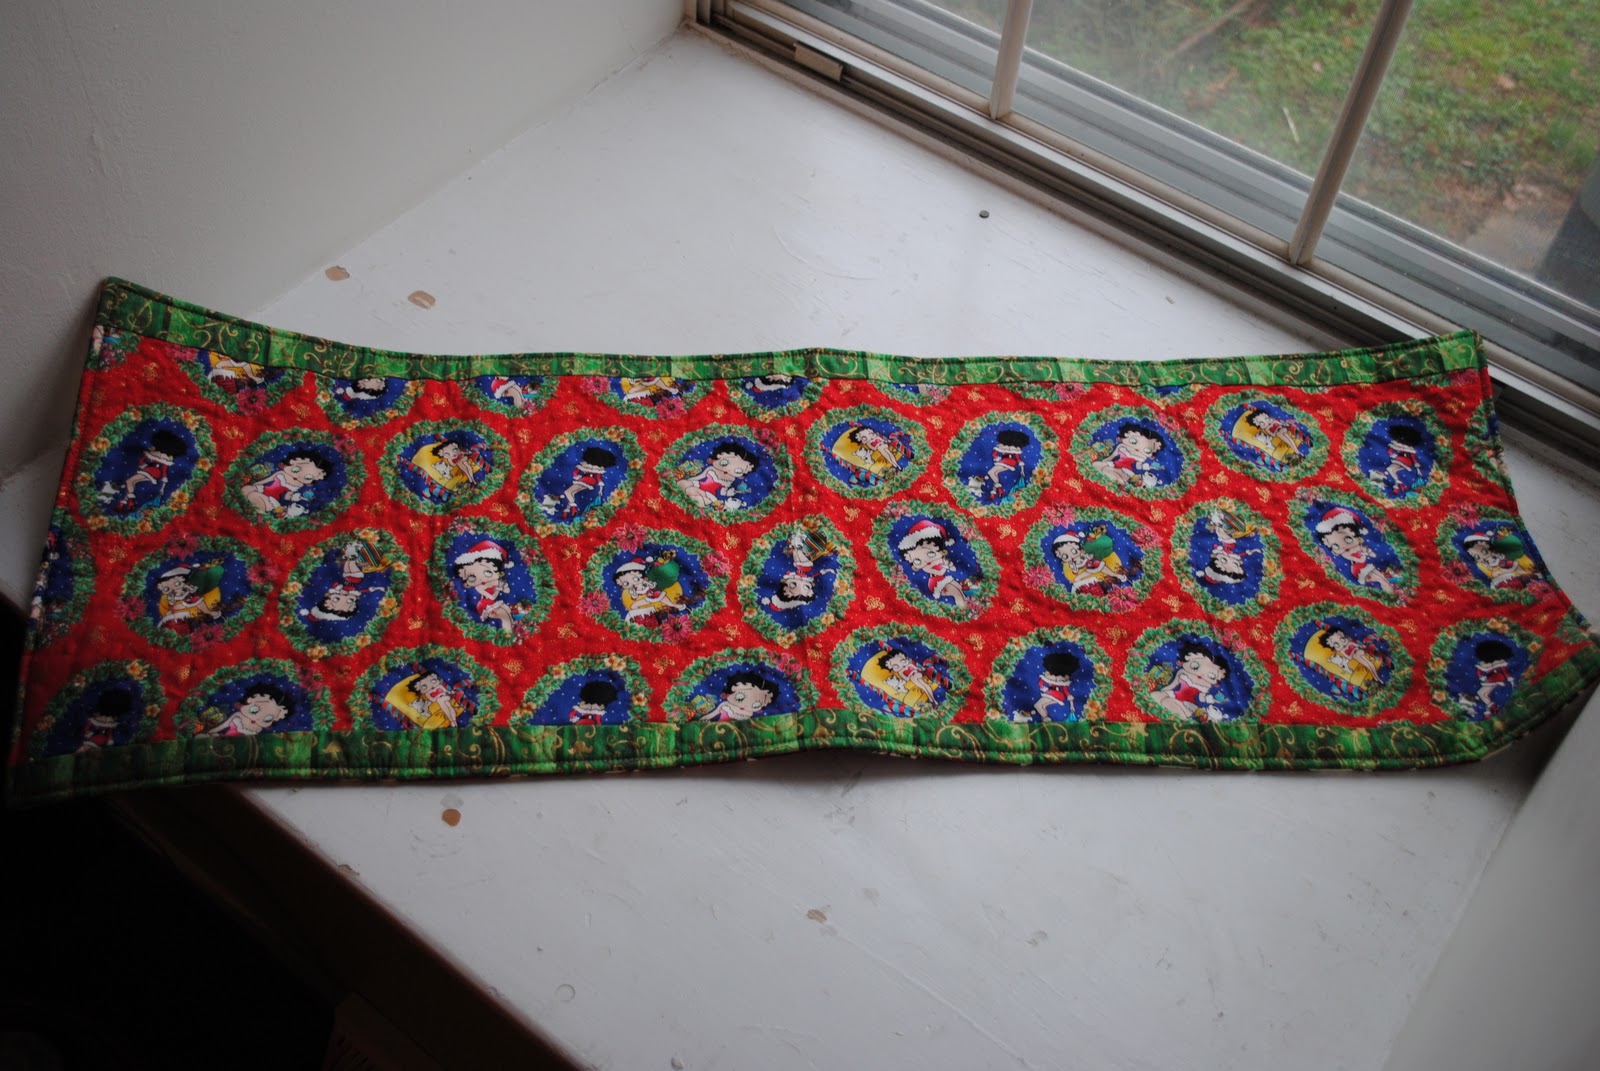
My First Table Runner

Here it is:


I love how it turned out!


It's reversible, and both sides are quilted differently.


Things worked out exactly how I hoped they would, so it was a breeze.


It's a Christmas gift and since it was gifted already I can definitely post about it, lucky me!

What gifts have you finished already?

Our Creative Spaces

November 22, 2011

To Grandmother's House We Go

Tonight we head out!

Our 'little' family will be going to my grandma's house in West Virginia, I've only blogged about it a few times... here, here, and here.

Thankfully, we'll be stopping tonight at my Dad's in Maryland and staying the night. It'll be nice to break up the drive, it would be about 7 hours one way (and that only includes 2 short stops) otherwise. Making that drive in a Mazda MPV with 4 kids isn't exactly easy/fun.

I've got a project (possibly two) going along with me. I'm pretty excited to get lots of hooking done on this soon-to-be baby blanket (on Ravelry here):


This is a project that was inspired by Lucy at Attic24, she's doing a ripple-along, her ripples are simply adorable!

Loving all the colors. Maybe I'm trying to get more into scrappy crochet... I've got tons of granny squares that I need to kick myself into making into something because I think I'm abandoning the original King-sized plan for them. (I know, how horrible to abandon an original project... it's either that or it's gonna sit for much longer than it already has.)

Wish me luck (and sanity...).

November 17, 2011

Double Cabled Hat Pattern


This hat is great, and fits well since it is knit entirely in a cabled stitch. The head circumference is more of a ballpark figure in the sense that this hat will stretch quite a bit. 

Materials:
  • Caron Simply Soft (or any yarn with 4.5 stitches per inch)
  • Size 6 and 7 16" circular needles
  • Size 7 double pointed needles (dpn)
  • Stitch markers
  • Cable stitch holder
  • Yarn needle
  • Scissors

Pattern:
(intermediate level)
Sizes: 19" (16 1/2", 21 1/2")
  • Cast on 96 (84, 108) stitches
  • Repeat chart all the way around until piece measures 5 (4, 6) inches from the bottom. (Chart below)
  • Begin decreasing on a row which you will NOT be cabling. You will also continue to knit in pattern throughout decreasing.
  • 1st decrease row: *Knit 10 in pattern, Knit 2 together, place stitch marker* repeat until end of row.
  • 2nd row decrease: knit entire row in pattern.
  • Repeat 1 decrease row and 1 row knit in pattern, with each subsequent decrease row like this: *knit in pattern until 2 stitches remain before a stitch marker, knit those 2 stitches together* repeat.
  • Repeat until only 8 (7, 9) stitches remain, switching to dpn when comfortable. 
  • Cut 8 inch tail and thread tail into needle and through remaining stitches. 
  • Weave in ends.
  • Enjoy!


Chart Explanation:
Cable 4 Front means you place the first 2 stitches on a stitch holder or cable holder and bring them to the front of your work. You then knit the next 2 stitches, then pick up the stitches on the stitch holder and knit them. 

Cable 4 Back means you place the first 2 stitches on a stitch holder or cable holder and bring them to the back of your work. You then knit the next 2 stitches, then pick up the stitches on the stitch holder and knit them.

Edited to add: I would LOVE to see any projects you create with this pattern! Feel free to join & share in my Flickr group: Your Lyanna Jean Designs.

Just a reminder, my patterns are for your personal use and enjoyment only. They have not been tested, so if you find an error feel free to let me know at lyannajeandesigns@gmail.com.

Our Creative Spaces

 
Related Posts Plugin for WordPress, Blogger...